In 2022, Home Theater Installation will be a much more complex process than it is today. For this reason, we highly recommend professional home television services. The average installation takes about four hours, but the final product should be perfect. It’s less stressful for you as well.
But it also helps to know what exactly happens during the process. This guide will take you through a standard home theatre installation in detail, including:
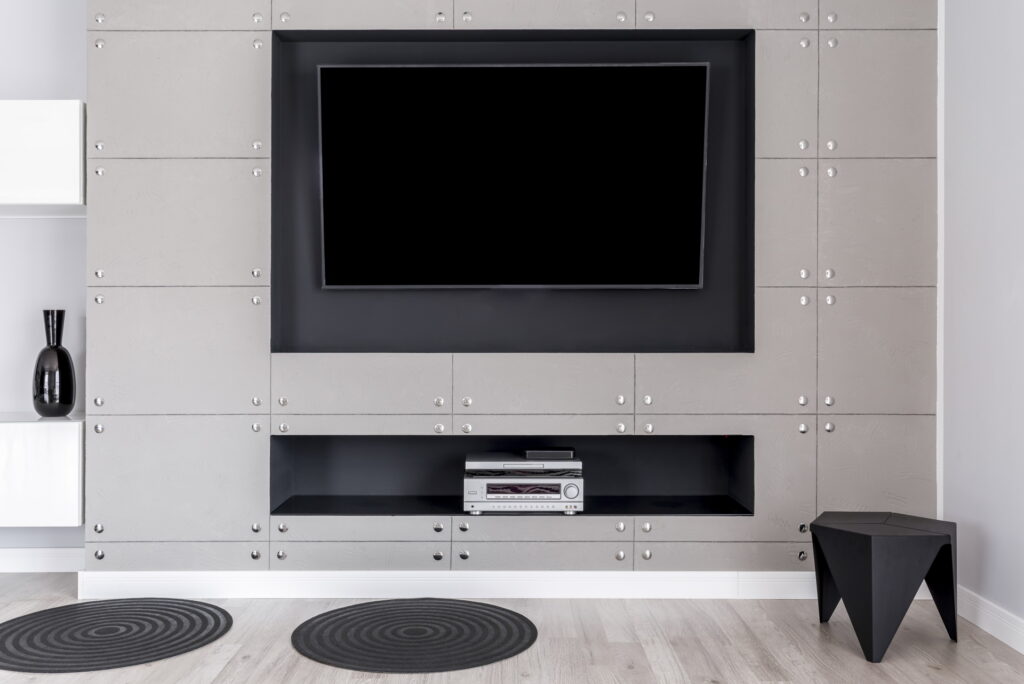
The first step is to determine the best location for your TV. It will largely depend on the size and shape of your room. You also should consider your seating layouts.
Ideally, the TV should be in a central location so that everyone has a good view. But this is not always possible, so get creative. If you have a small room, for instance, you might want to mount your TV on the wall.
Once you have a general idea of where your TV will go, it’s time to start planning the rest of your home theatre installation setup.
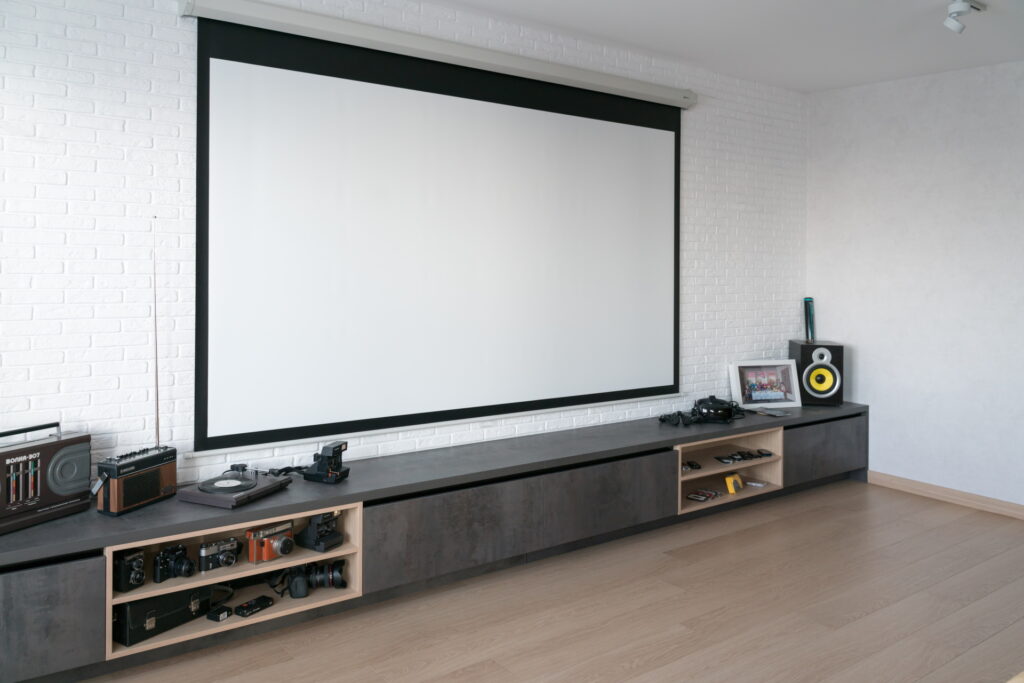
Now it’s time to actually install your TV. This will require a few extra steps if you’re mounting your TV on the wall. But we’ll go over that later. For now, let’s assume you’re putting your TV on a stand.
The first thing to do is connect the TV to its power source. Then, if you’re using an HDMI cable, you can go ahead and connect that now. If you’re using component cables, you’ll need to attach those as well.
Once you have connected the power source and other necessary cables to your TV, you can go ahead and turn it on.
If you’re mounting your TV, find the studs in your wall. These are the beams of wood that support your drywall. You’ll need to use these to secure your TV mount.
Once you’ve found the studs, you can go ahead and mark their location. Drill holes in your wall so that you can secure the mount.
Hold the mount against the wall and mark the location of the holes. Then, you can remove the mount and drill those holes.
Now it’s time to connect your TV to your sound system. If you’re using a receiver, this will be relatively easy. You just need to connect the receiver to your TV using an HDMI cable.
If you’re not using a receiver, things will be a little more complicated. You’ll need to connect your TV directly to your speakers. The exact process will depend on the type of speakers you’re using.
Spare yourself the hassle by hiring a home theatre system in Toronto, which can be done easily and affordably.
But in general, you’ll need to connect the positive and negative terminals on your speakers to the corresponding terminals on your TV.
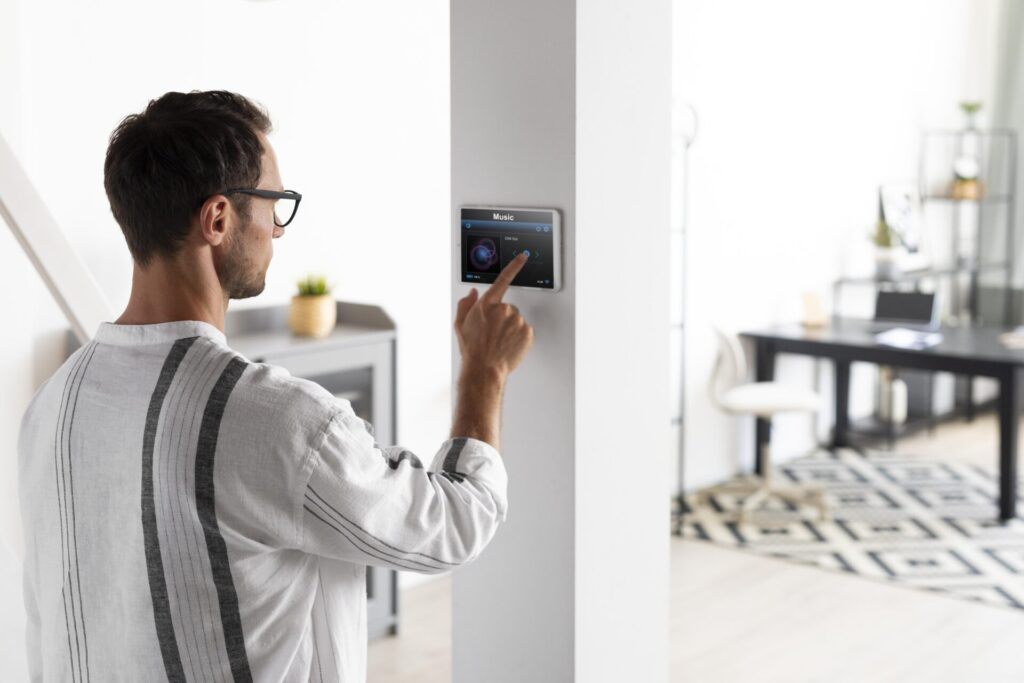
The final step is to calibrate your home theatre. It ensures that your sound system is properly balanced and that your picture is as clear as possible.
The most common method is to use a sound meter, which measures the sound output of your speakers and helps you adjust them accordingly.
You can also use a calibration disc that contains test patterns and audio tracks. By playing these back, you can fine-tune your home theatre to get the best possible sound and picture quality.
Installing a home theatre can be a daunting task. This guide has hopefully made the process a little less difficult for you.
Just remember to take your time, be patient, and follow the instructions carefully. For a less-stressful process, work with a professional installation expert.